$ less ~/blog/local-playground-project-lando-drupal-8.txt
-rw-r--r-- ana Sep 12 2020 local-playground-project-lando-drupal-8.txt
ARCHIVED · written in 2020. Kept as it was; some of it may be out of date.
Local playground project with Lando for Drupal 8

Today we’ll set up a Drupal 8 local development environment to test things out (whatever is on your developing mind) with Lando and Composer.
So to start, you should have both Lando and Composer installed in your system. I’m on Mac, so most of my examples are going to be from the command line from the terminal.
If you haven’t done it yet, install Lando and Composer in your system.
Create a project via Composer
Just run this command on your Terminal to get started. This will create a Drupal 8 project the composer way.
composer create-project drupal/recommended-project playgroundYou’ll notice I named my project playground. You can name yours however you feel like, it just makes sense to me, since I’ll use this to play around and find out new stuff I’ll probably use in other projects.
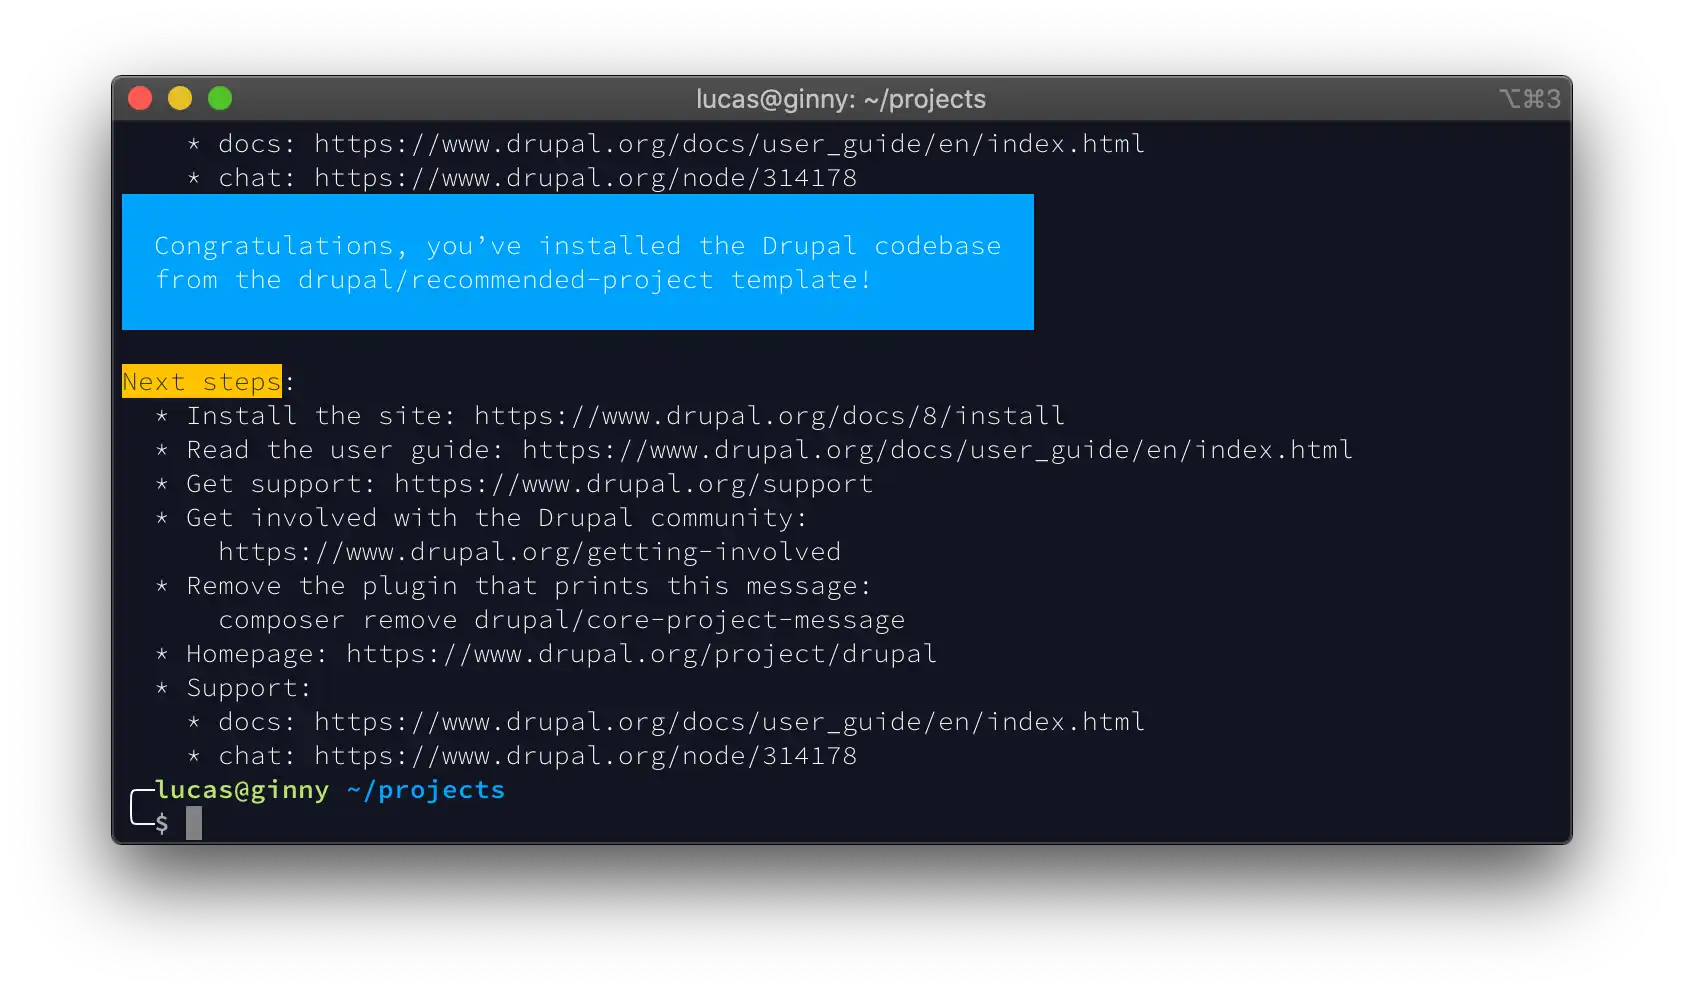
After you have run the composer line above, you’ll see a message much like this on your terminal:
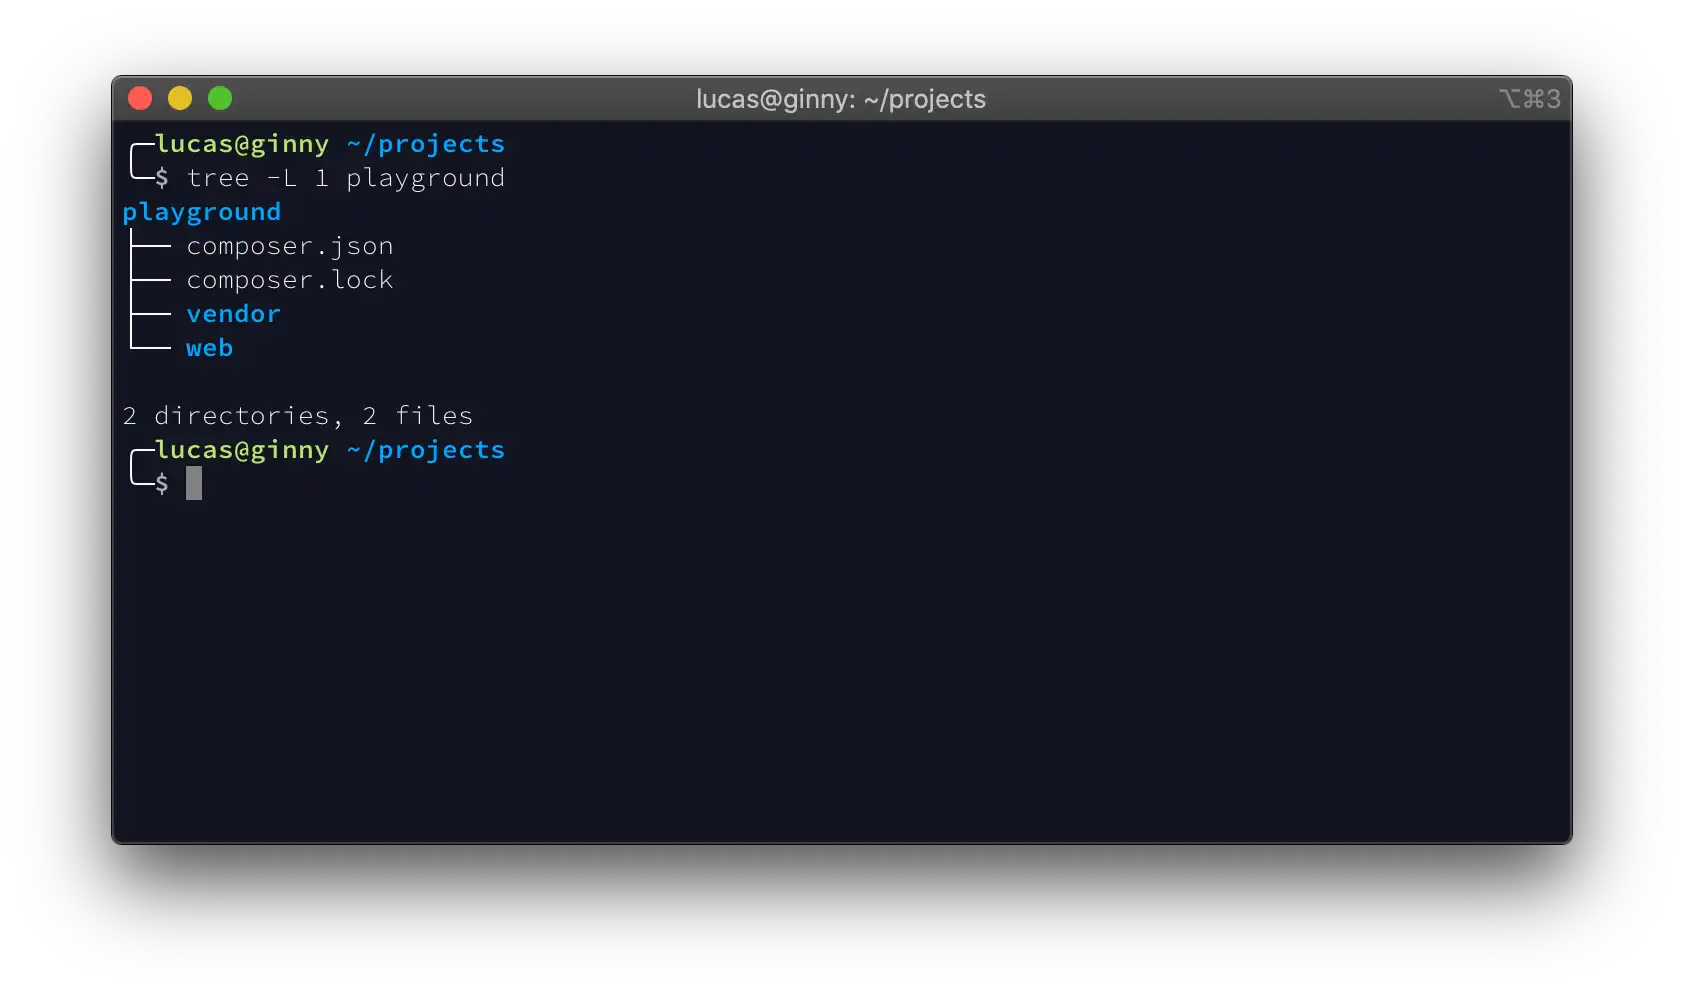
All right, we’re on the right track. Inside our project’s folder we should have these directories and files:
Now we’re moving on to Lando…
To set up Lando for your project (I’ll do it for my playground), you just have to run lando init in your project’s folder. The guys from Lando did an amazing job building up this tool (kudos and we love you!), so if you choose, you can just answer each interactive question that Lando pops up to set up the project. If however, you’re looking for a fast-forward version of this, do it as I did, and just pass all the relevant parameters like this:
lando init \
--name playground \
--recipe drupal8 \
--source cwd \
--webroot web
This will generate a .lando.yml file with the needed configurations:
cat .lando.ymlWe’re almost there, just a few more steps. If you run lando start now, Lando will download a bunch of Docker images, create containers and volumes and quite transparently to us, set up our database and some local URLs for us to access and use our site:
lando startSo don’t worry if this takes a few minutes, it is worth the wait.
Here’s a screenshot of my terminal, your’s might have a few more messages if you’re doing this for the first time.
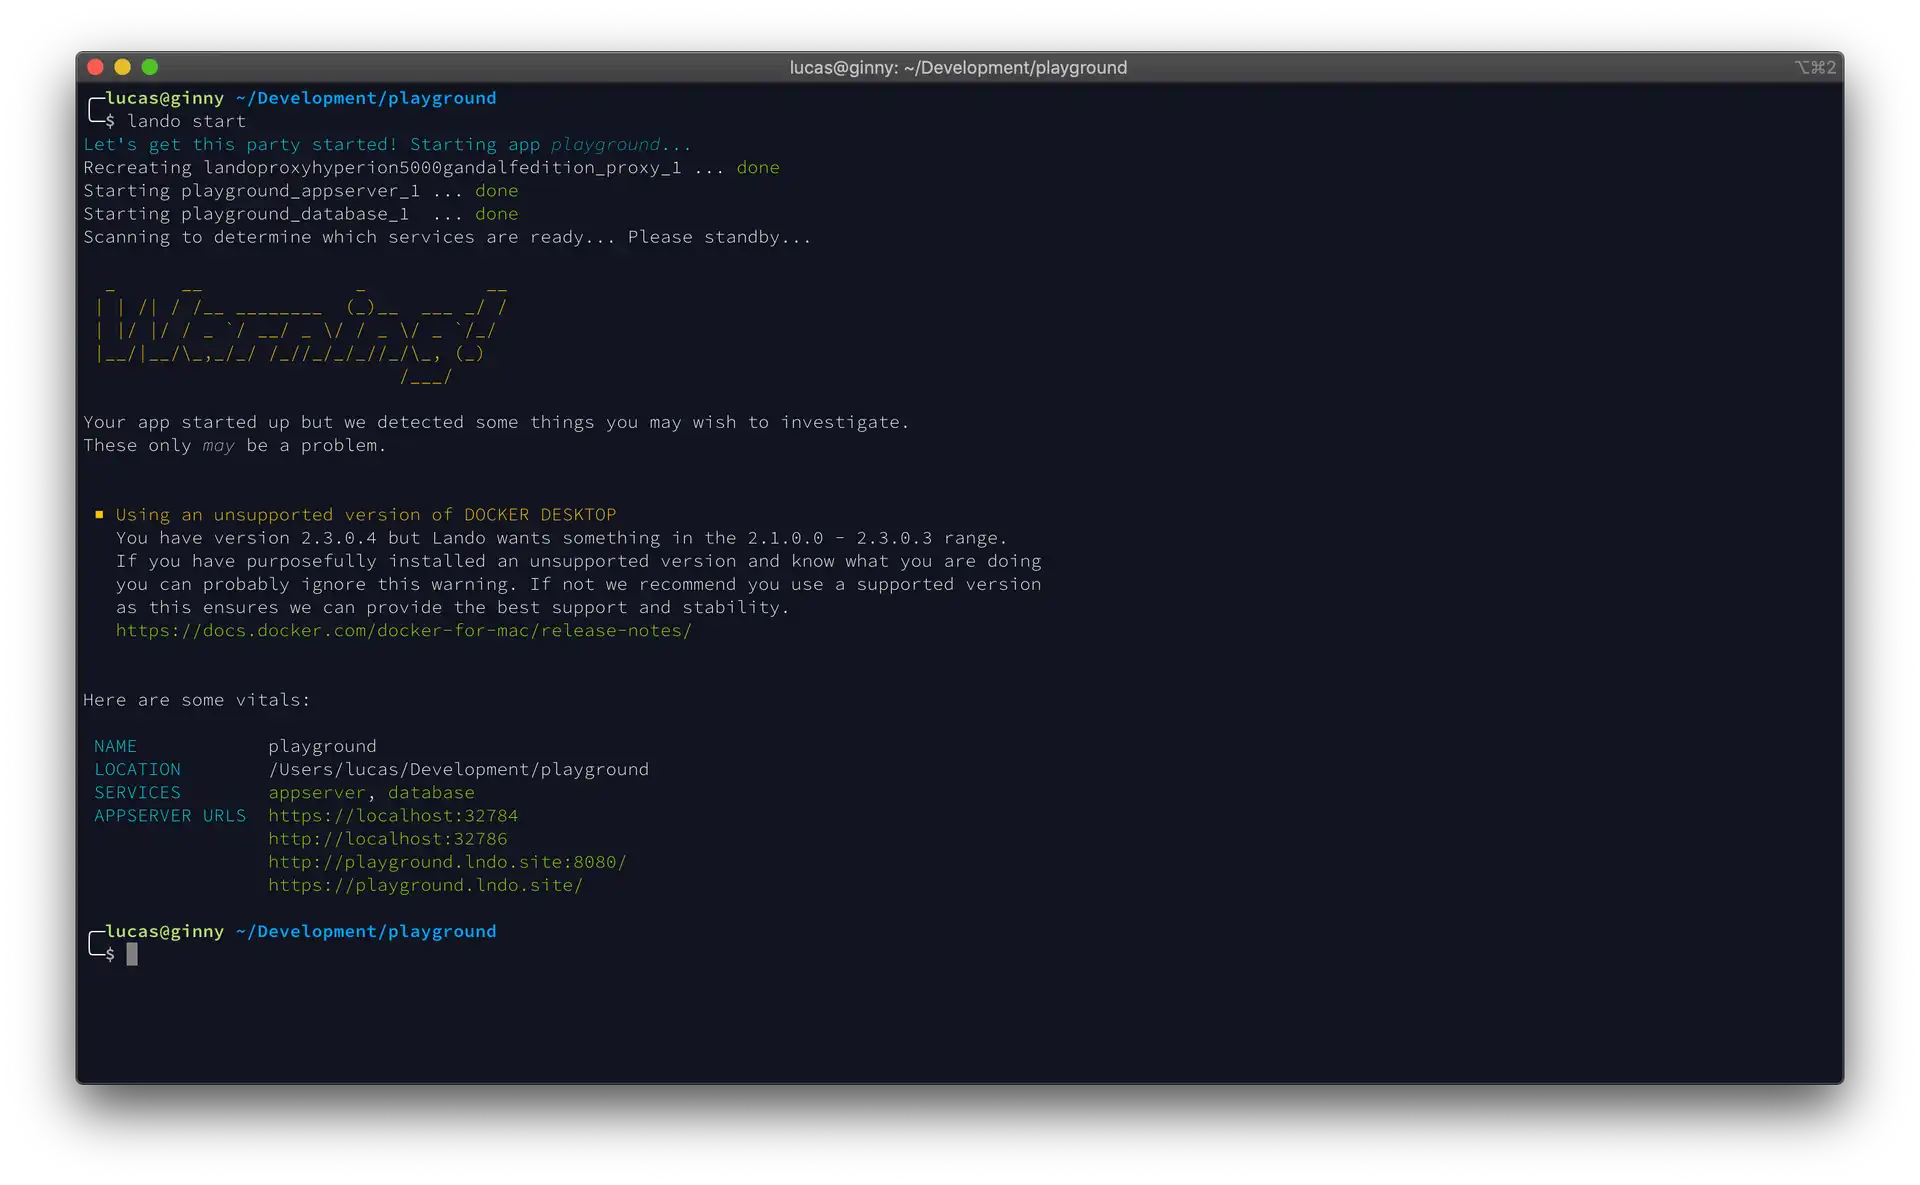
Nevermind my warnings, the important part are those green lines at the bottom. If you access any of those Appserver URLS you’ll see the Drupal’s site installation page.
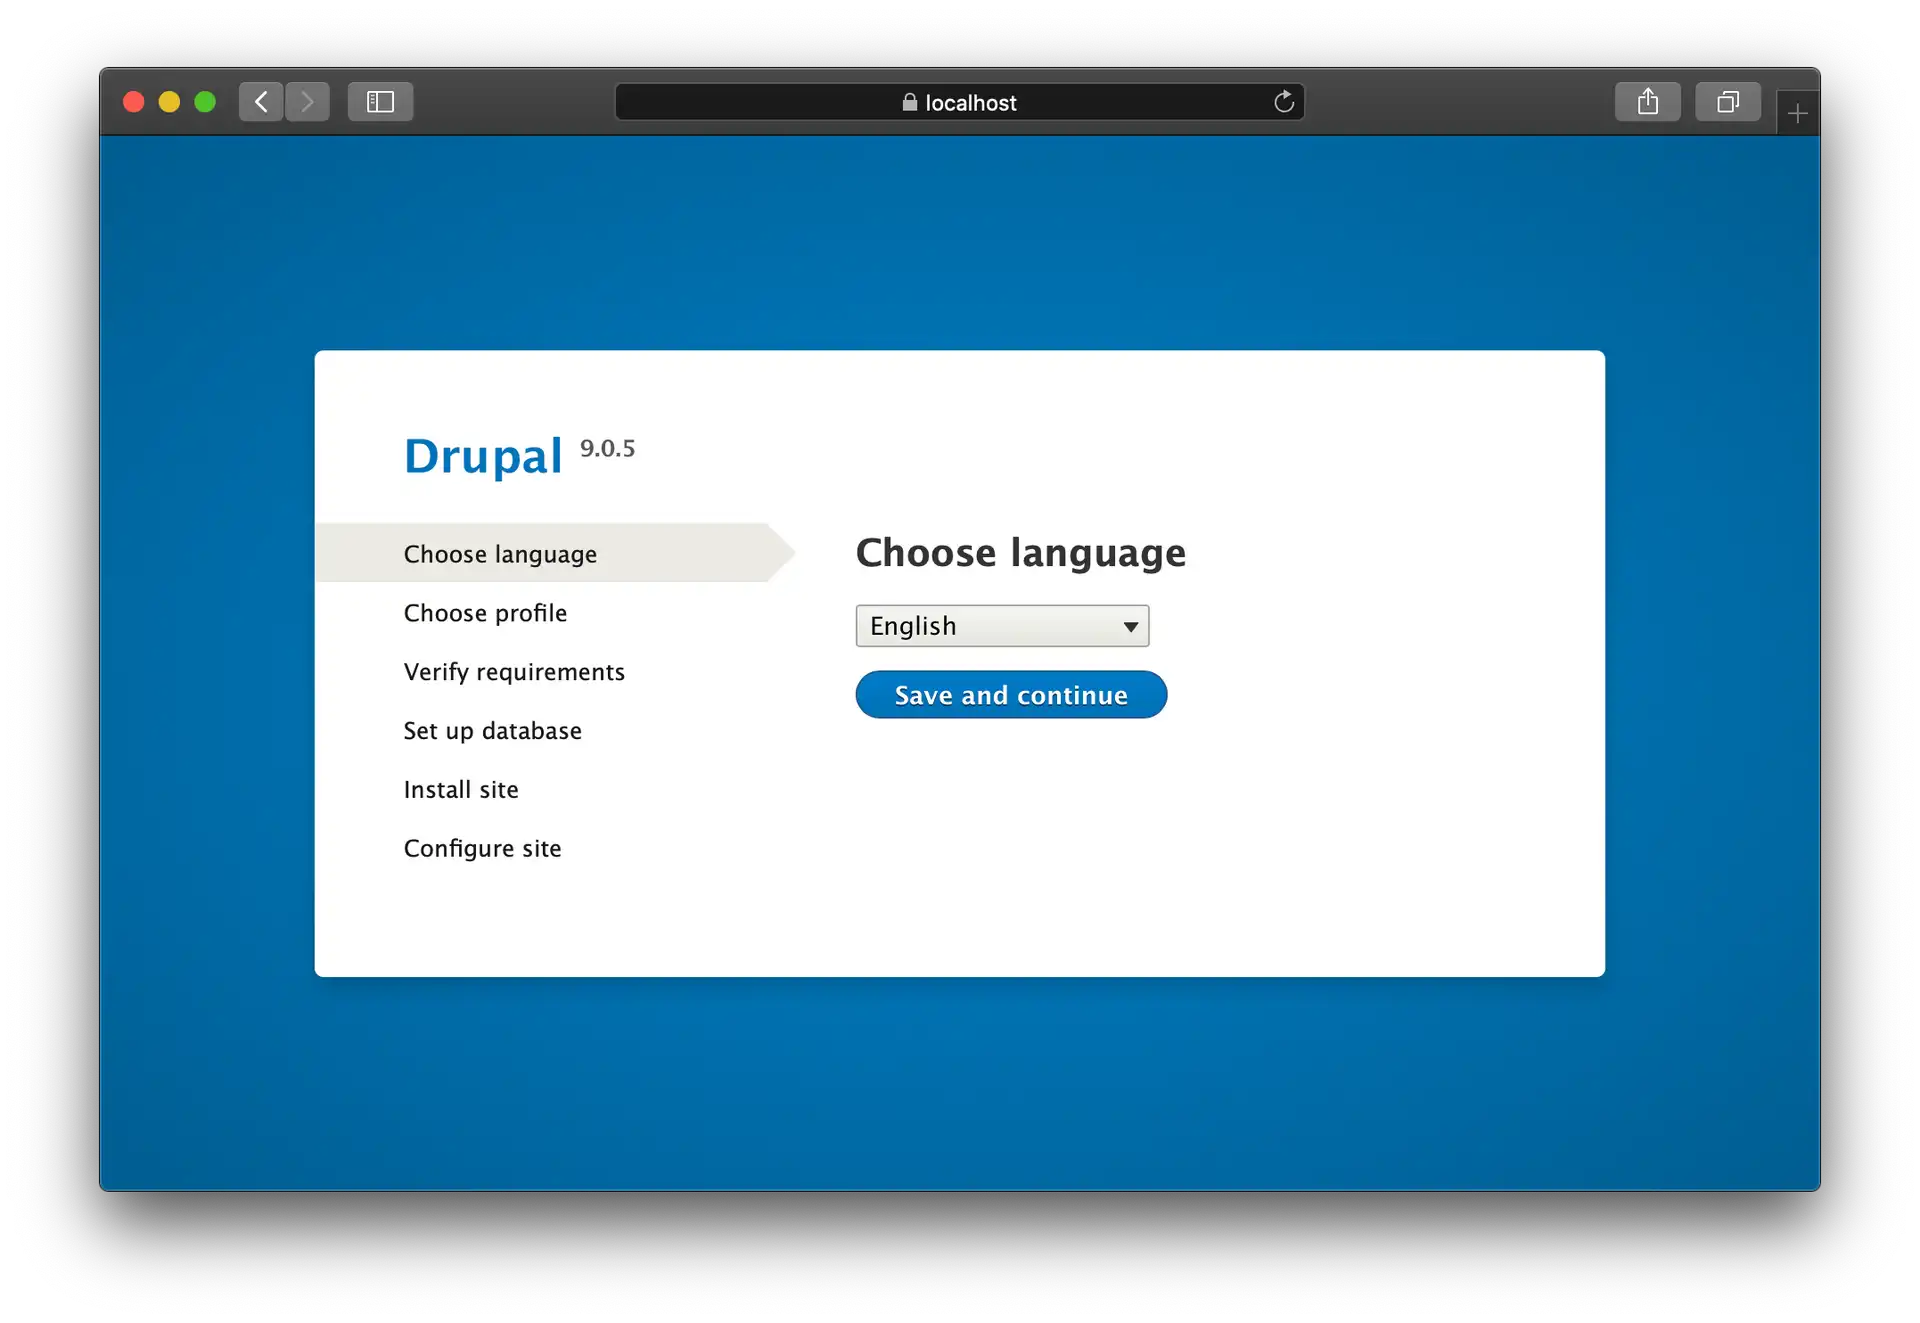
How you complete most of these forms is entirely up to you. The only screen that needs our attention is the database screen below:
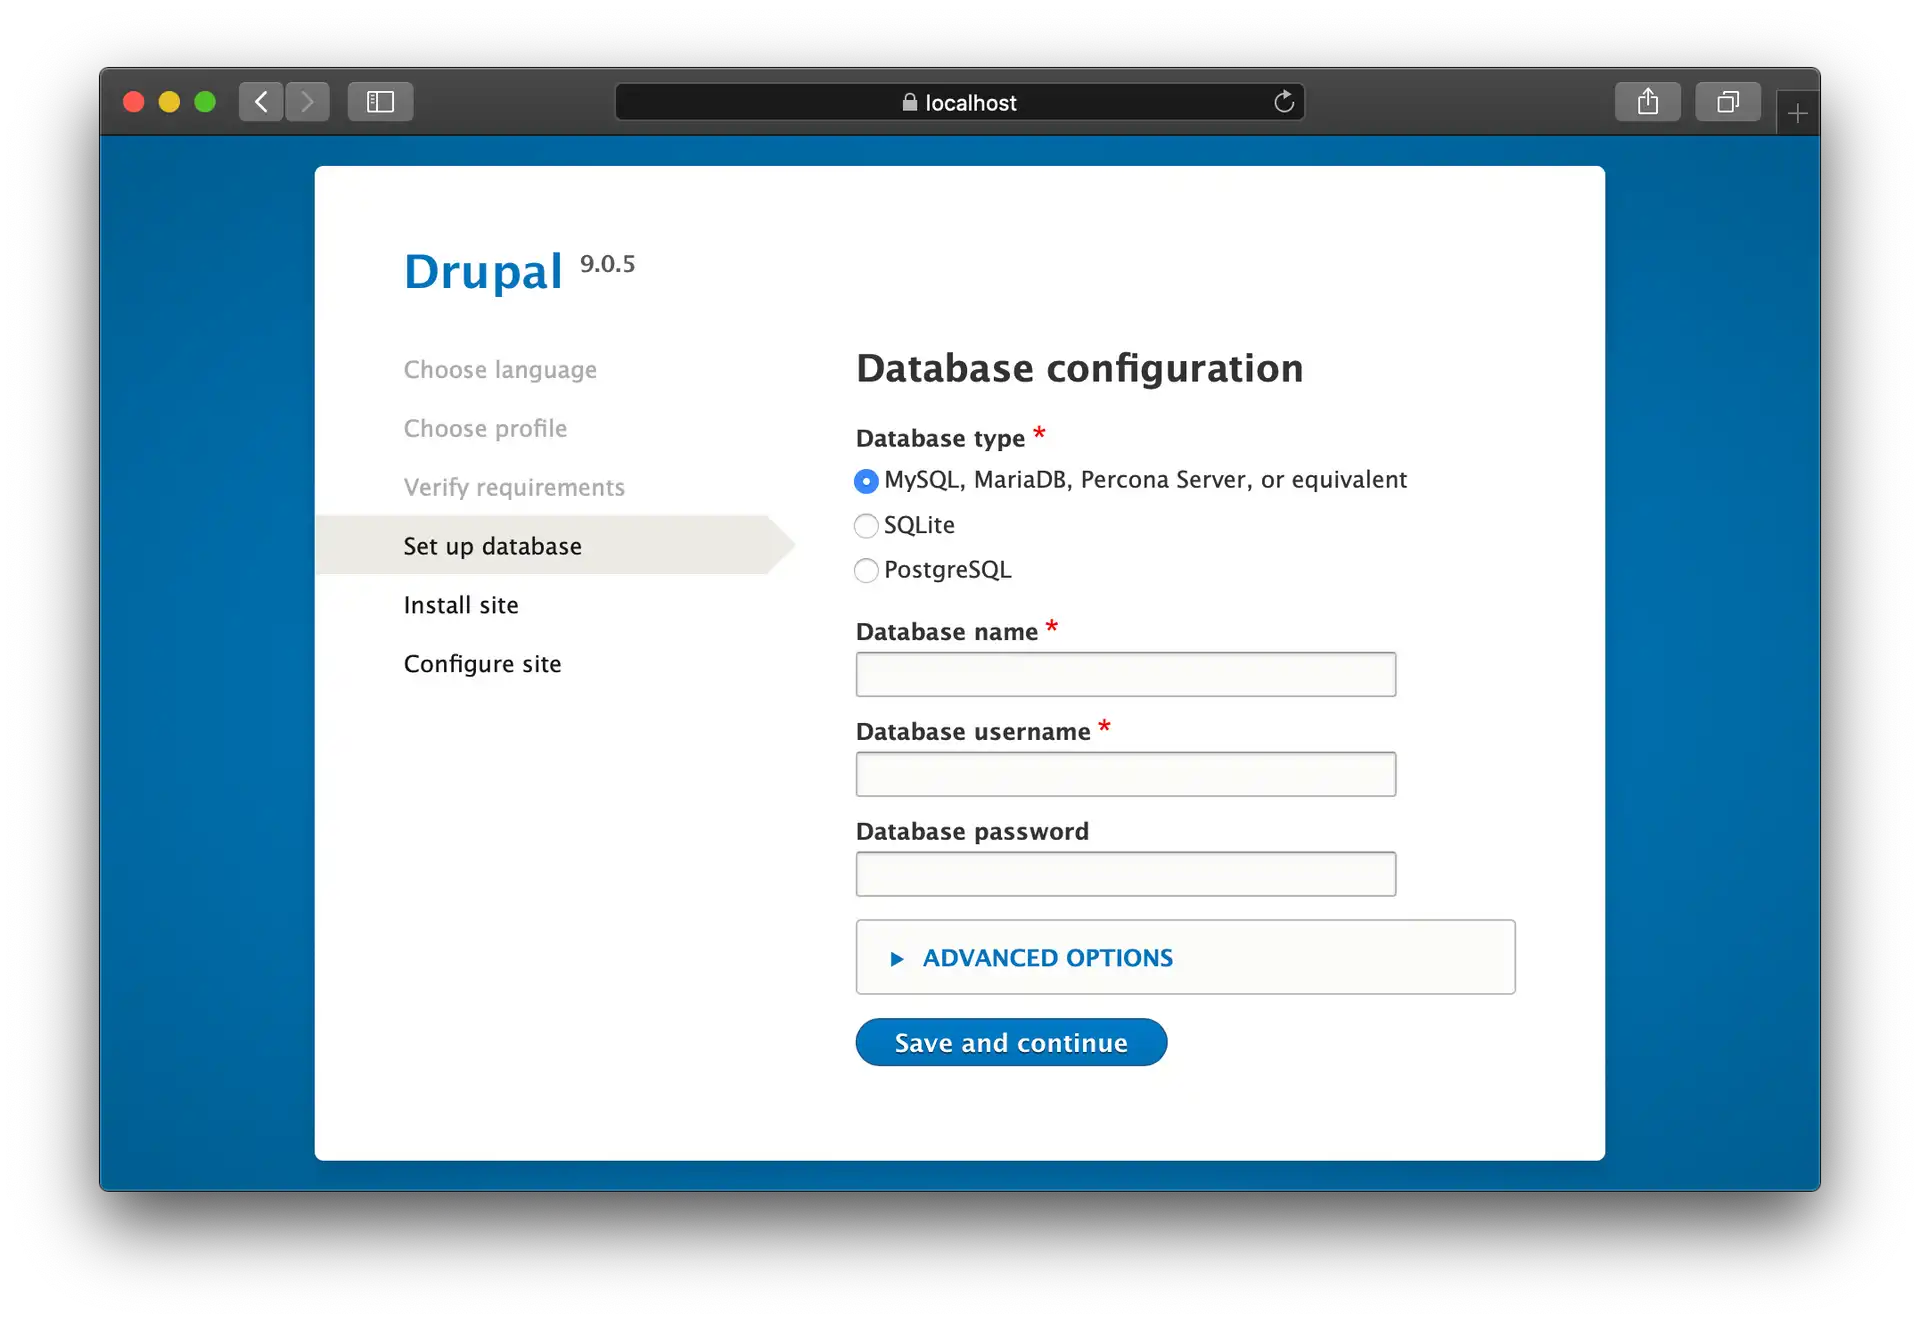
This information you must get from Lando at this point, because the actual database settings were set by the script we run earlier. It’s very easy to get this information, you just have to run lando info in your terminal.
 lando info
[ { service: 'appserver',
    urls:
     [ 'https://localhost:32784',
       'http://localhost:32786',
       'http://playground.lndo.site:8080/',
       'https://playground.lndo.site/' ],
    type: 'php',
    healthy: true,
    via: 'apache',
    webroot: 'web',
    config: { php: '/Users/lucas/.lando/config/drupal8/php.ini' },
    version: '7.3',
    meUser: 'www-data',
    hasCerts: true,
    hostnames: [ 'appserver.playground.internal' ] },
  { service: 'database',
    urls: [],
    type: 'mysql',
    healthy: true,
    internal_connection: { host: 'database', port: '3306' },
    external_connection: { host: '127.0.0.1', port: '32785' },
    healthcheck: 'bash -c "[ -f /bitnami/mysql/.mysql_initialized ]"',
    creds: { database: 'drupal8', password: 'drupal8', user: 'drupal8' },
    config: { database: '/Users/lucas/.lando/config/drupal8/mysql.cnf' },
    version: '5.7',
    meUser: 'www-data',
    hasCerts: false,
    hostnames: [ 'database.playground.internal' ] } ]
As you can see in this example, my database is called ‘drupal8’, it’s password and user are also ‘drupal8’, the host is called ‘database’ and the port we’re using is the ‘3306’.
Just fill the form with this information, and voilá, you’re ready to finish the installation process.
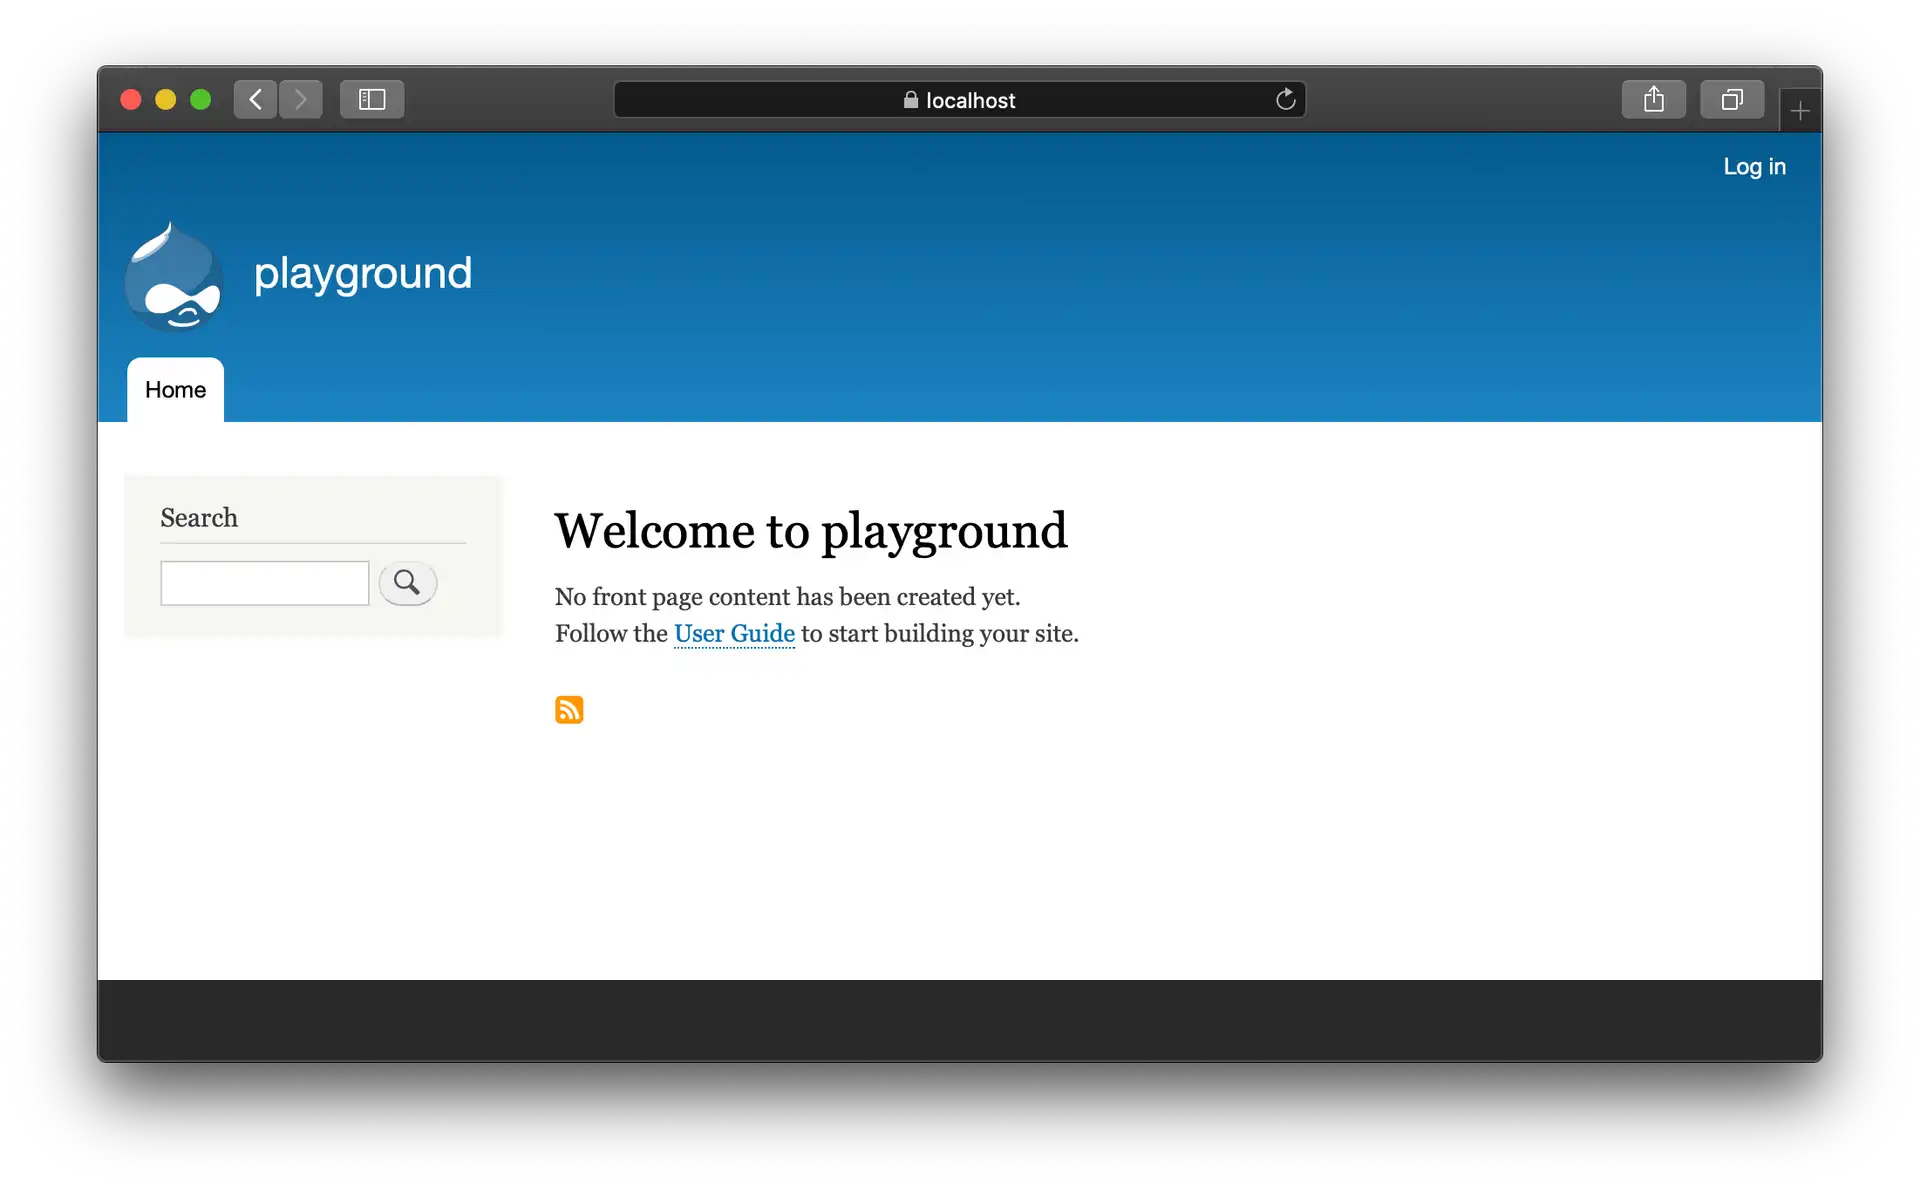
Here are some tips and tricks to go on:
- Store the database in a file once the installation is complete. That way, every once in a while, you can drop the playground’s database and start over without having to do the installation process again. You can export the database very easily using the command
lando db-export filename.sql

#You can import that database again, as many times as  you want, by running

lando db-import filename.sql.gz- If your team members wish to have their own playground project, just commit the files to a git repository (.lando.yml included) and have them run lando start on their own computers. For an extra treat, send them a copy of your newly-created database so that they can start using it pretty much out of the box.
This tutorial is meant for you to start this project from scratch. If you were planning to use an existing database and need to set up credentials we’ll cover that in another post soon. Stay tuned!