$ less ~/blog/hand-picked-content-top-chronologically-sorted-view-option-2-entity-queues.txt
-rw-r--r-- ana Jan 06 2022 hand-picked-content-top-chronologically-sorted-view-option-2-entity-queues.txt
ARCHIVED · written in 2022. Kept as it was; some of it may be out of date.
Hand-picked content at the top of a chronologically sorted view: Option 2, Entity queues

Entity queues are awesome for the following reasons:
- Your content editor gets a single administration page to set up the featured articles.
- The selected articles can be ordered manually in that page.
- The queue admin page allows the editor to add articles through a search (here, searching by title).
- As an admin, you can give permissions to your content editor to just edit the queue contents, and not mess up the queue configurations.
- Entity queues play nicely with views.
As I said on the previous one way or another post, the requirement here is to display articles by created date, and allow our content editors to override that order with an entity queue.
For this tutorial, I’ll use the same articles that I created for the previous one.
**Here’s how the functionality is done:**First we create a View as an example, called “Animals”, that displays articles tagged with the “Animals” taxonomy term.
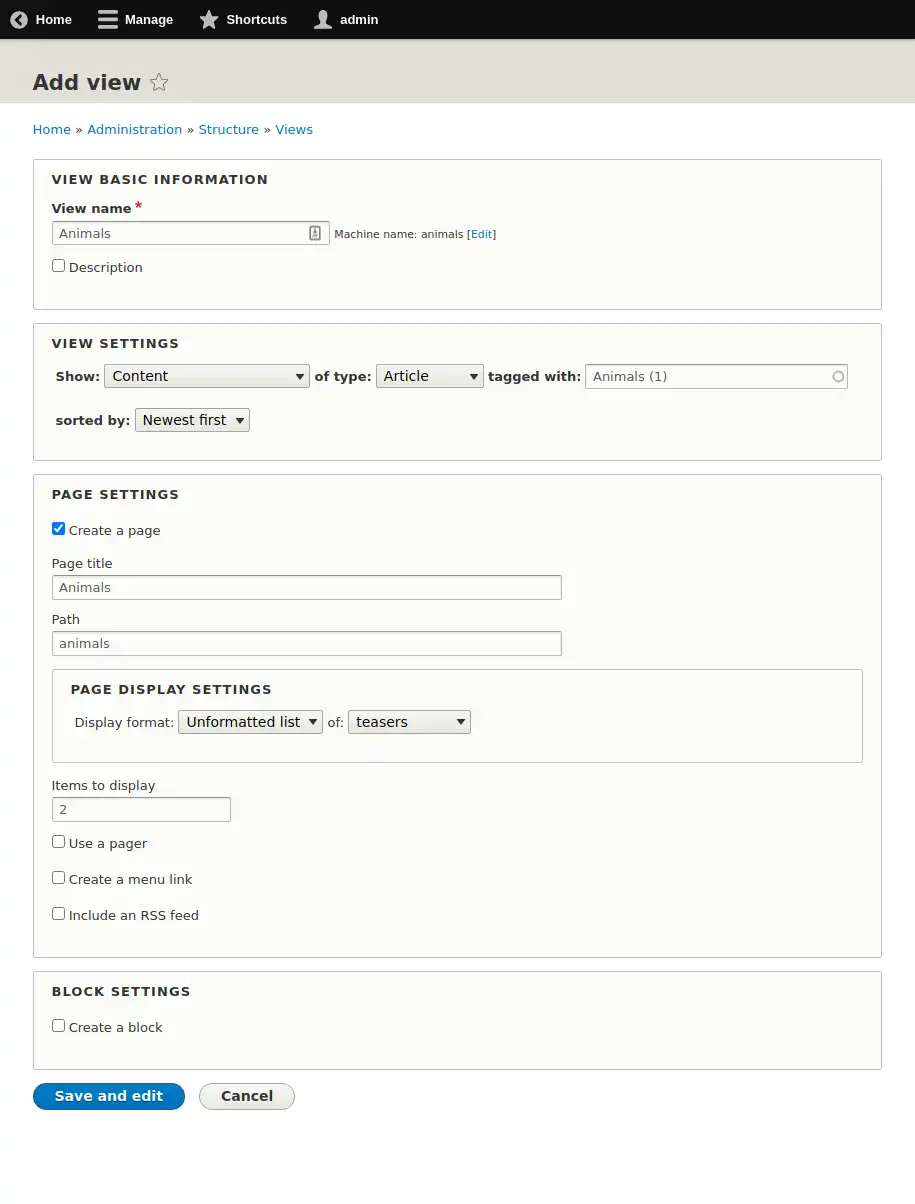
So far pretty standard stuff. We set up the order by authored on date, and limit the amount of results to 2 (I only created 5 articles, bear with me). Here’s how the view looks at first glance:
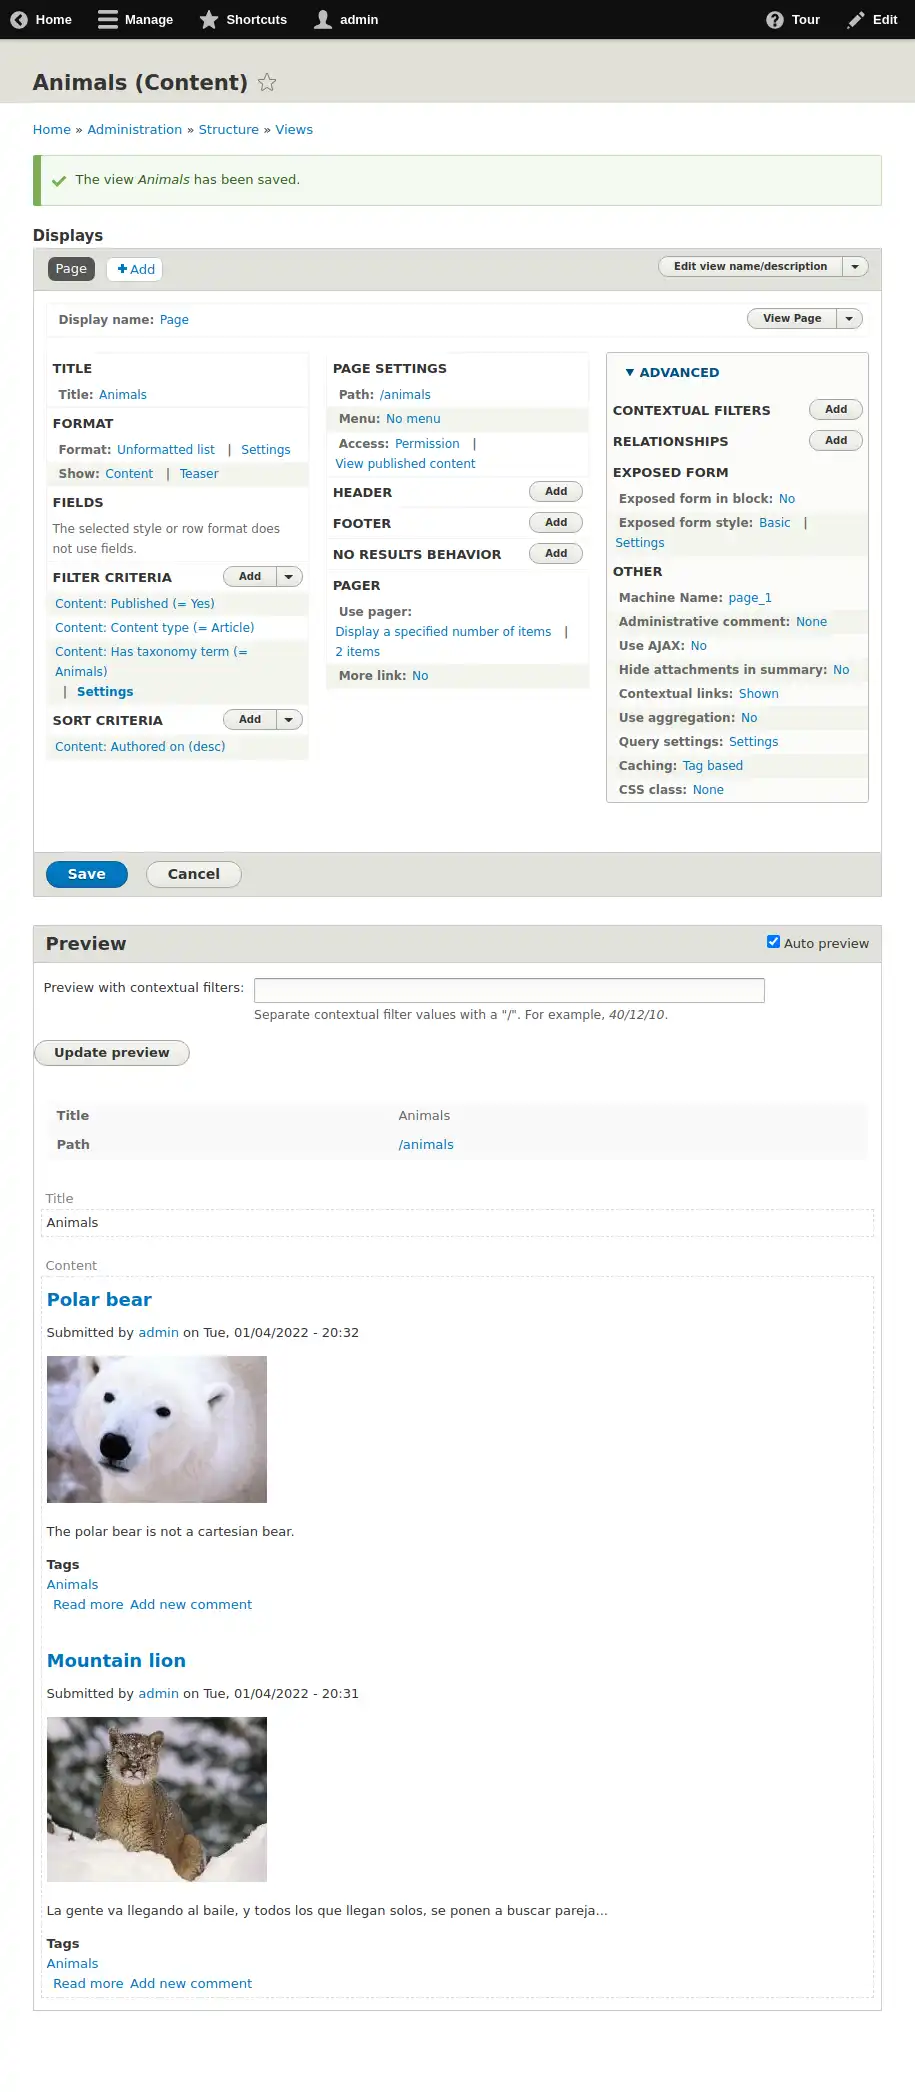
Notice that we see The polar bear and The mountain lion first, in that order. That means those are the last generated contents, since the view is ordering by created date. There are also other contents, The rabbit, The elephant and The tiger, but we don’t see them yet, because the view only allows 2 elements to be displayed at any time (on purpose).
We must create our entity queue at /admin/structure/entityqueue (if you haven’t, remember to enable the module first!) next, and set our new “My favorite animals” queue up:
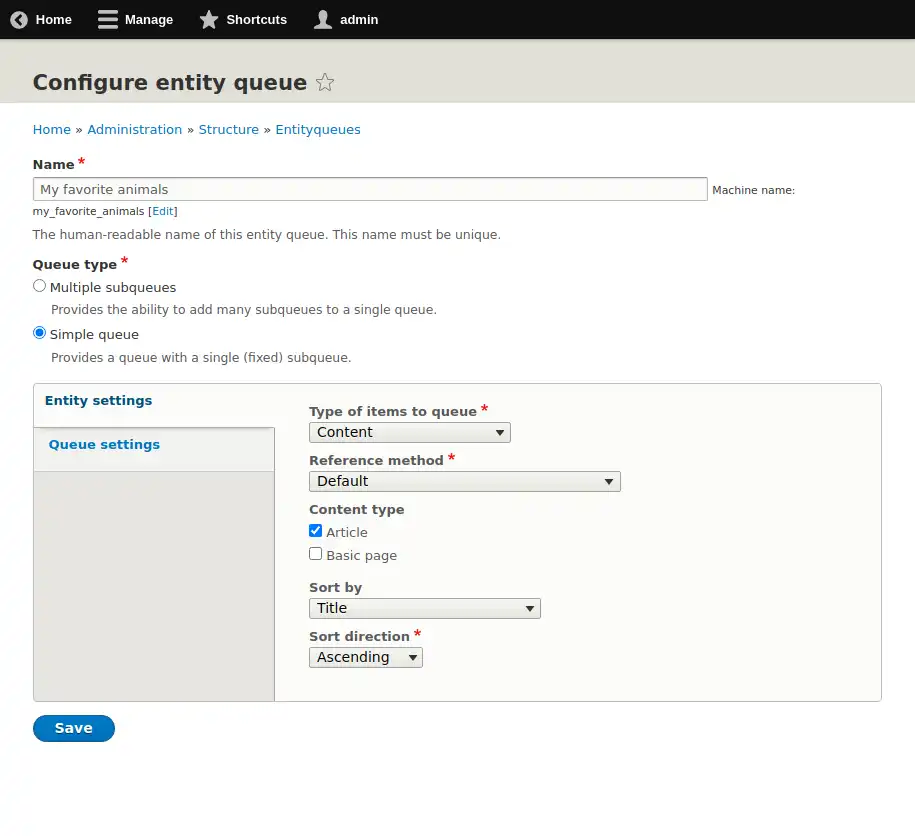
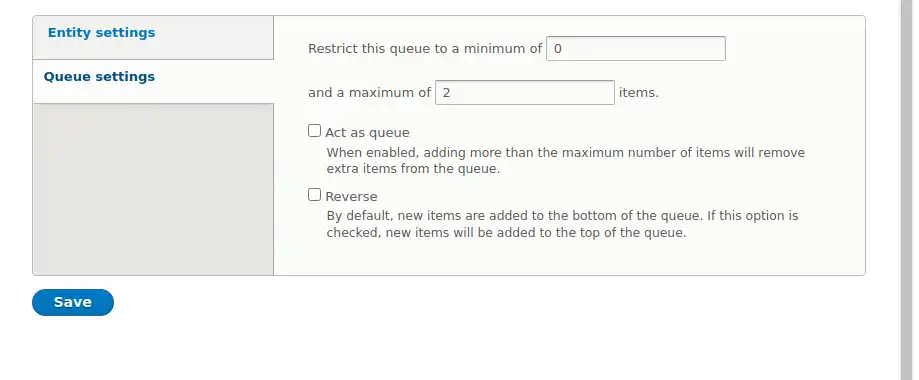
Notice that we can change the Reference method (awesome feature, I’ll probably do another post about it), restrict the queue to a single content type, and even define how it will sort the results for us when searching by title.
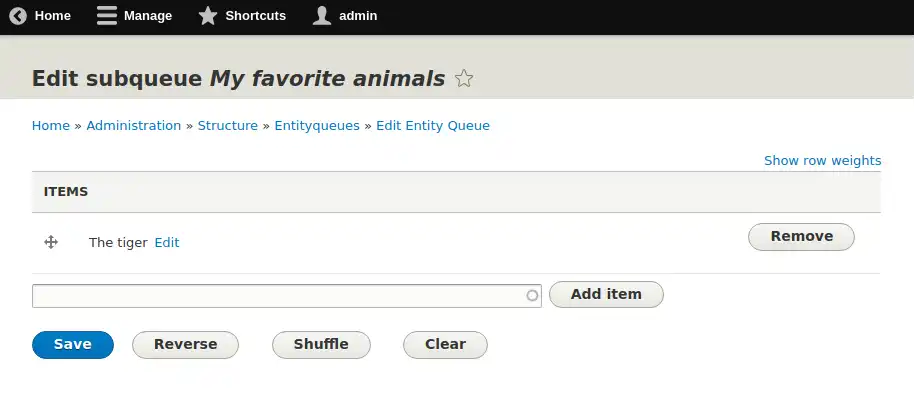
To be able to test this as I develop, I added one element to the queue, The tiger:
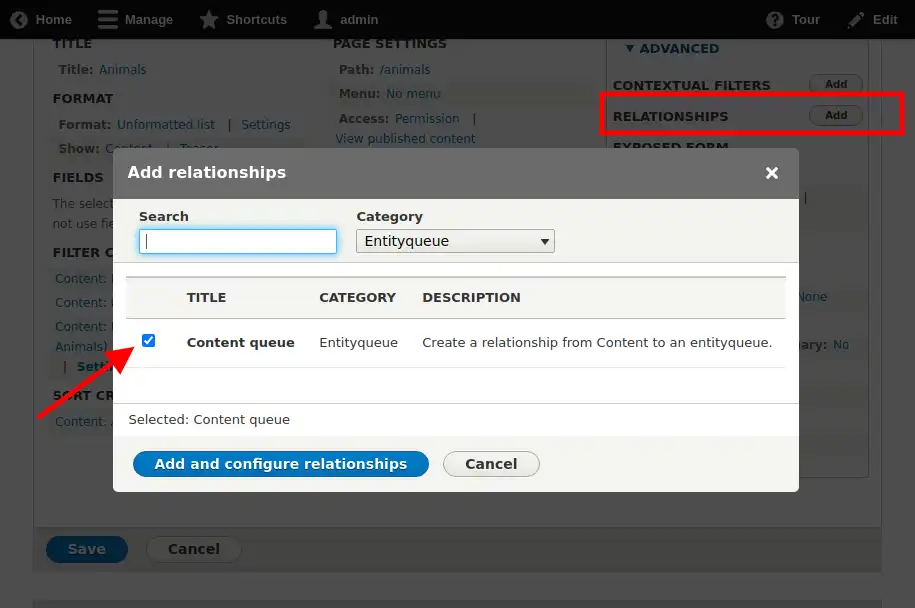
Now that we set that up, the next step is to tell the view that we want to use an entityqueue, and to give it priority when displaying the contents. The way to do that is by first adding a relationship on or view (third column on the view page) like on the screenshot:
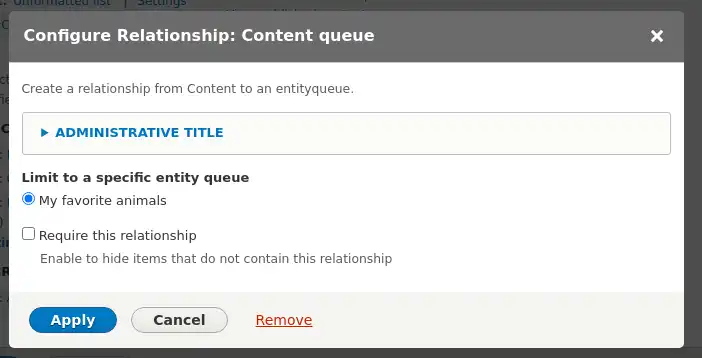
We must select here which queue we’re using (it’s easy here, there is only one), and we get the option to force it… we don’t want that now, we want our content editors to be able to skip filling the queue.
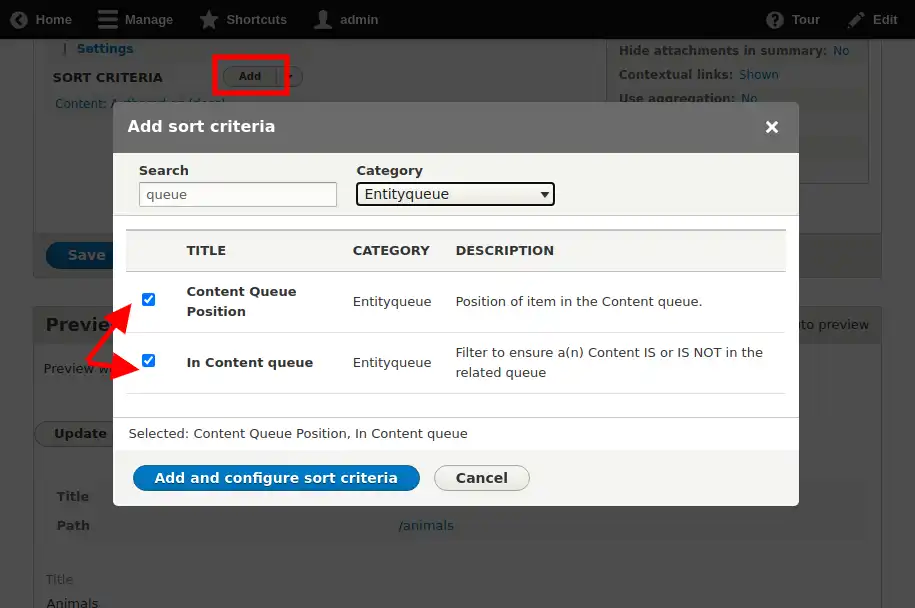
Next, since we’re planning on displaying our queue first, and then fill the rest of the view with chronological content, we need to add two new sort criteria: display the elements that are in the queue first (In content queue, descending), and display those in the order of the queue (Content queue position, ascending).
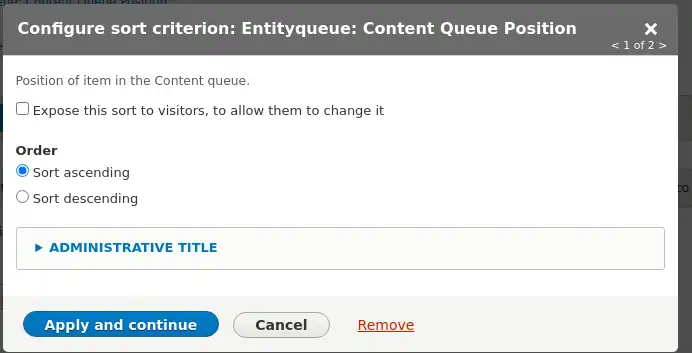
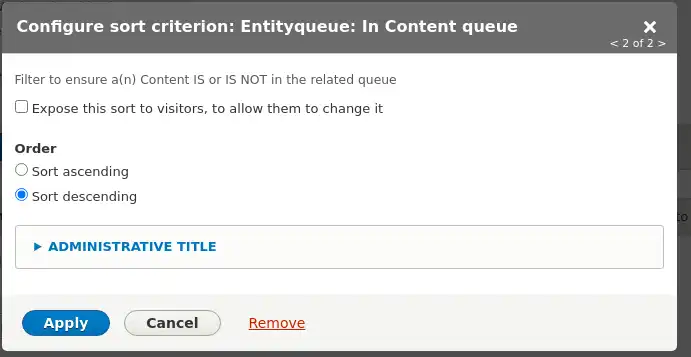
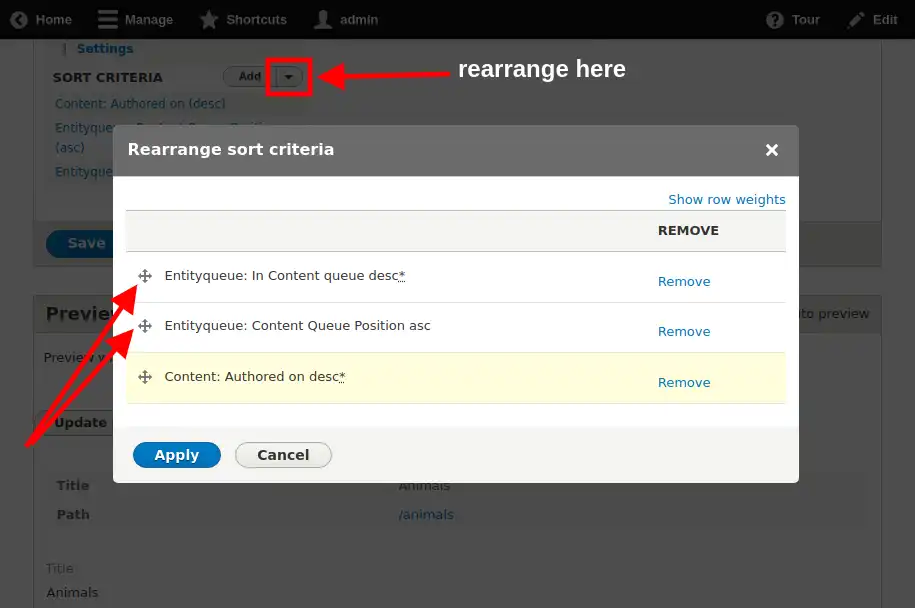
And finally rearranged the sort criteria, so that the view actually sorts by my queue first:
Now to the moment of truth… as expected, when we check the results of the view we see The tiger first and then the first chronological element, The polar bear:
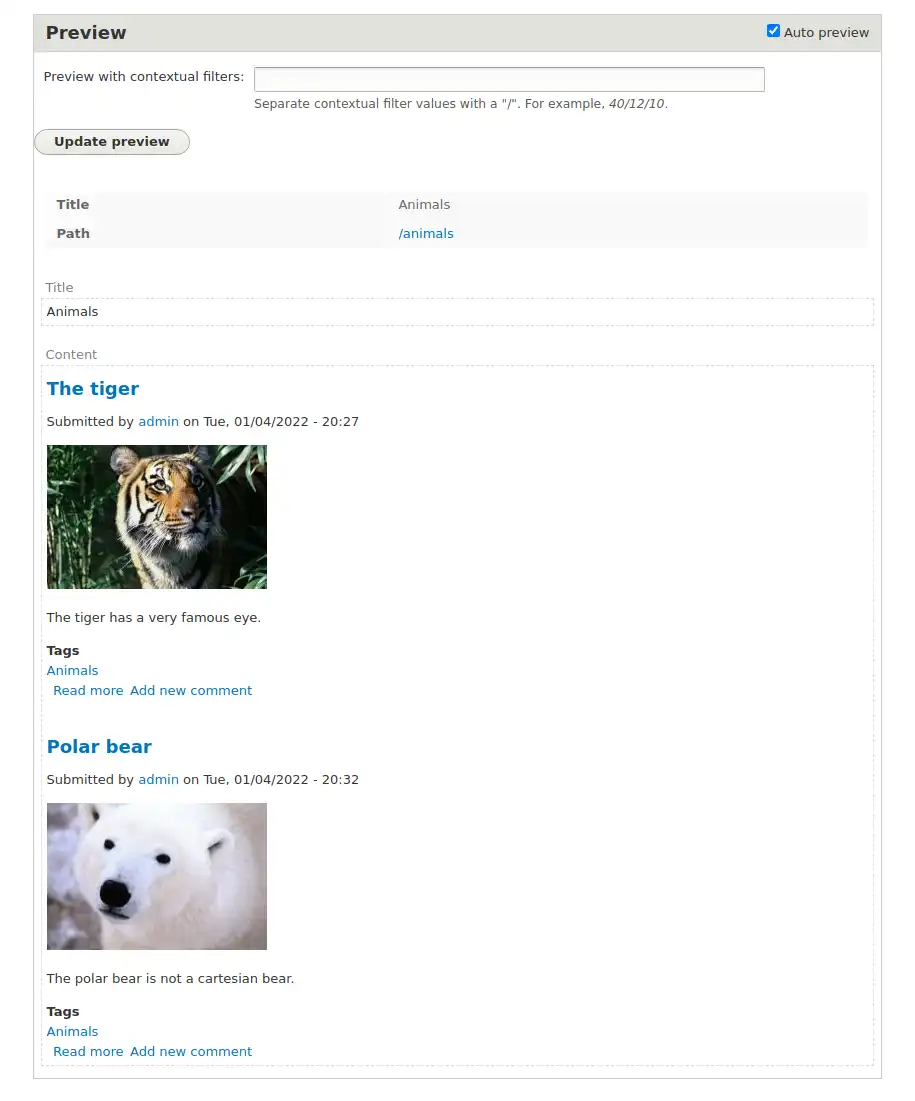
If I add another element to the nodequeue (the elephant) right after the tiger, the preview of the view changes successfully:
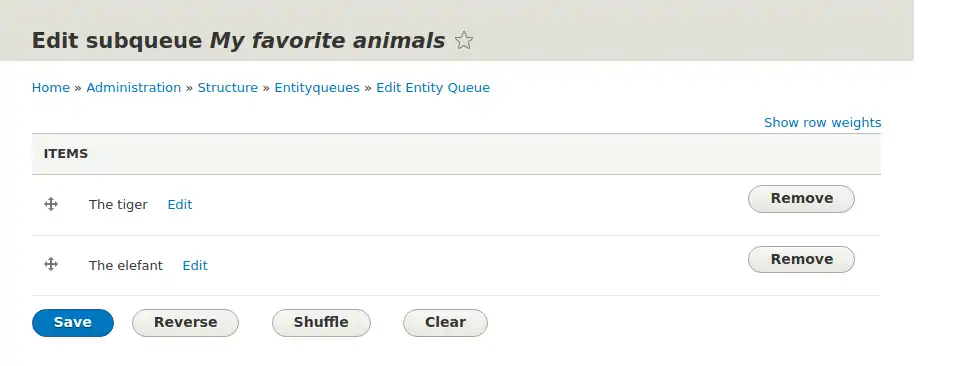
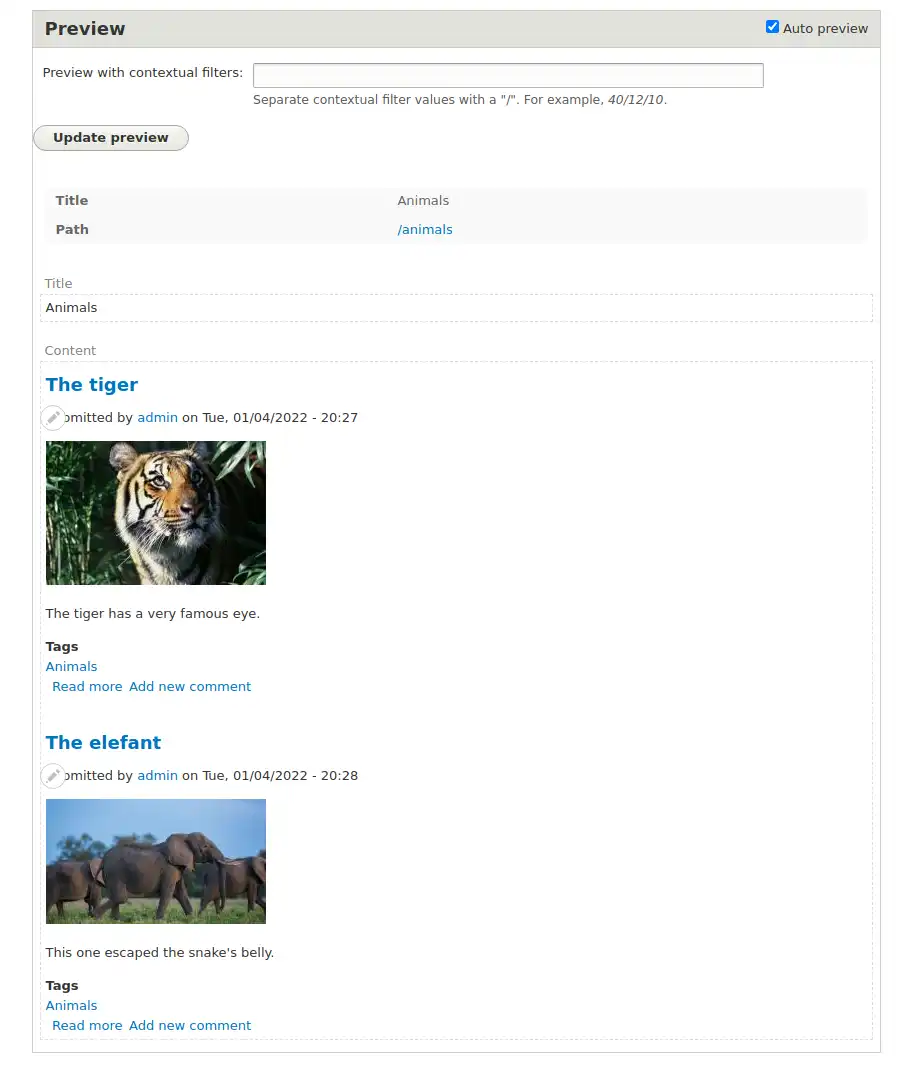
And for the final test, I removed all elements from the queue, saw the original order again.
That’s it for today. In our next post in the series we’ll tackle this problem with entities and field references. As always, stay tuned for more!